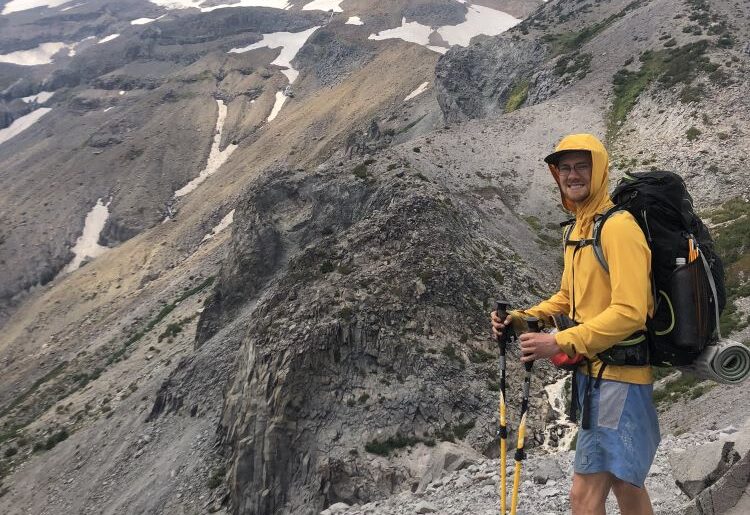
The Timberline Loop Trail, also called the Timberline Trail around Mt. Hood, is a 40-mile trail that circumnavigates the entirety of stunning Mt. Hood in Oregon.
This Mt. Hood loop trail is a popular and accessible backpacking loop and one of our all-time favorite hikes.
The incredible views, no permitting system, and diverse landscapes keep us coming back to do this hike each year.
In fact, together, we (Abby and Logan) have done 7 trips on the Timberline Loop Trail. As a result, we’ve learned a lot about this trail, including where to camp, water sources, and river crossings.
In this article, we are excited to share our knowledge with you so that you can make the most of hiking this beautiful trail. By the end of this article, you’ll know everything to hit the Timberline Loop Trail!
This post may contain affiliate links. We may earn a commission when you purchase products mentioned in this post.
Timberline Loop Trail: Overview
As the primary Mt. Hood backpacking loop, the Timberline Trail Loop is the ultimate experience hiking on Mt. Hood.
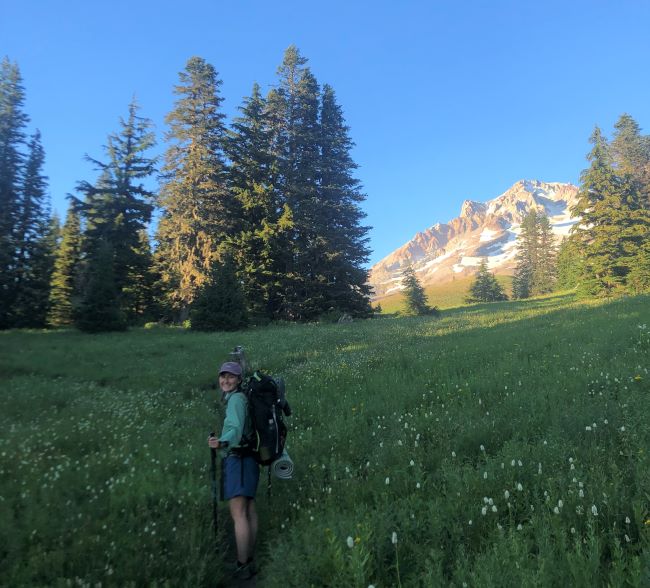
Hiking on Mt. Hood can of course be enjoyed by day hikes, but a multi-day Mt. Hood backpacking adventure is the most immersive way to hike on Mt. Hood.
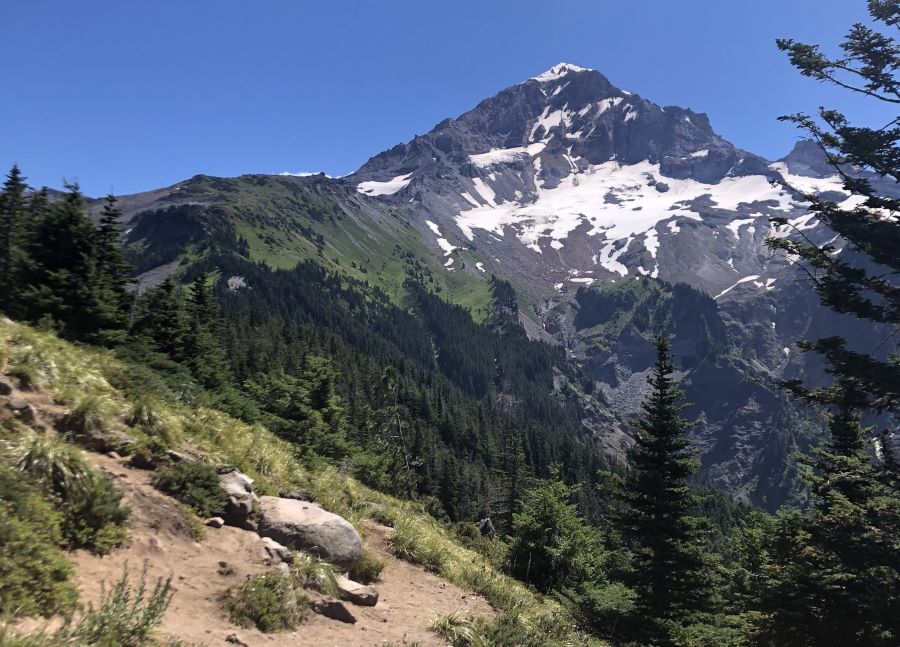
In fact, you get to circle the entire mountain, across various elevations, to experience incredible views from all sides. There are so many things to see:
- The historic Timberline Lodge
- Views to the south of Mt. Jefferson
- The Willamette Valley and coastal range to the west
- Mt. Saint Helens, Mt. Rainier, and Mt. Adams to the north
- The impressive Columbia River Gorge to the north
- Desert landscapes of eastern Oregon
- Beautiful Ramona Falls (and many other waterfalls)
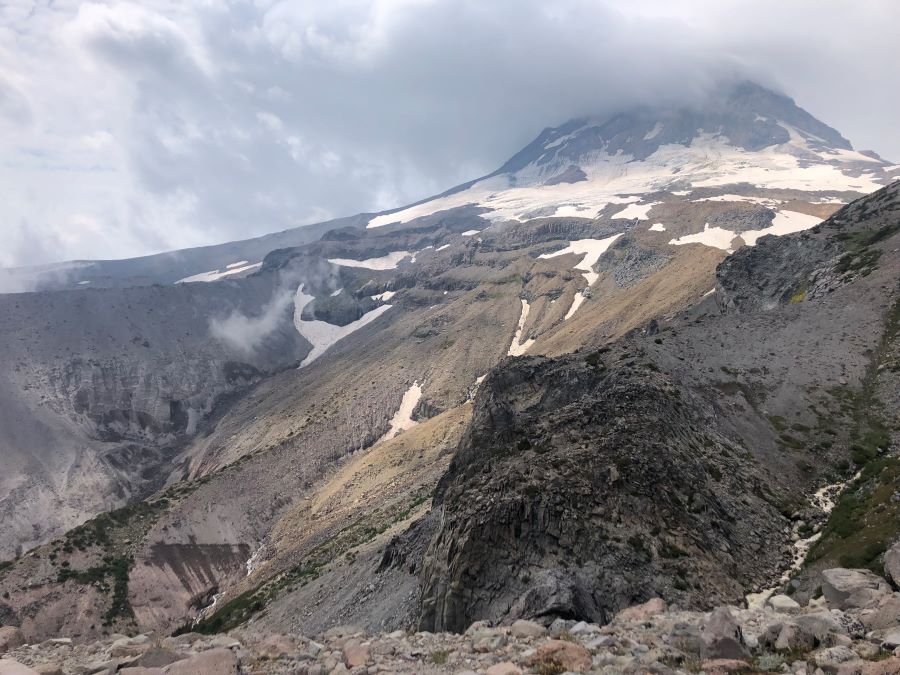
- Rugged rocky cliffs and glaciers
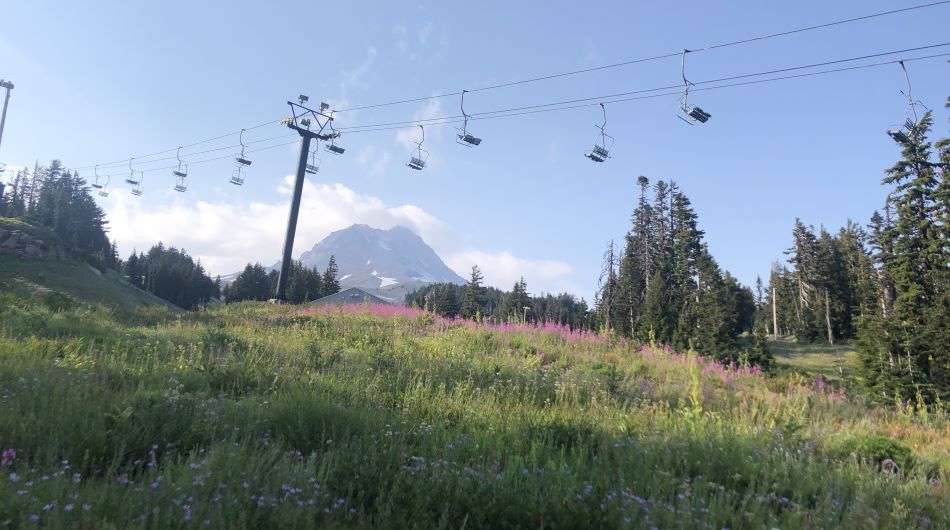
- Unique views of Mt. Hood ski resorts during the off-season
- Incredible wildflowers

As you can tell, The Timberline Loop trail is truly a special way to experience both Mt. Hood itself and the surrounding landscape.
In fact, with clear conditions, you can see much of Oregon and Washington from various viewpoints around the loop.
Timberline Loop Trail Video
Check you this video we made to help you plan your hike on the Mt. Hood Timberline Loop Trail. It has a lot of the same information here but in video form.
Timberline Loop Trail Helpful Information
As far as the trail itself, the facts below describe this amazing trail.
- About 40 miles
- About 10,000 feet of elevation gain
- Trail is well-trafficked and in good condition overall
- No permit required (apart from free self-issued Wilderness Permit)
- Several river crossings (be prepared to get your feet wet)
- Abundance of campsites and water sources
- Various trailheads
- Clockwise or counterclockwise direction: both are great
Timberline Loop Trail Map
Use the interactive map below to get your bearings of this amazing Mt. Hood backpacking loop. You can also expand it in a new window.
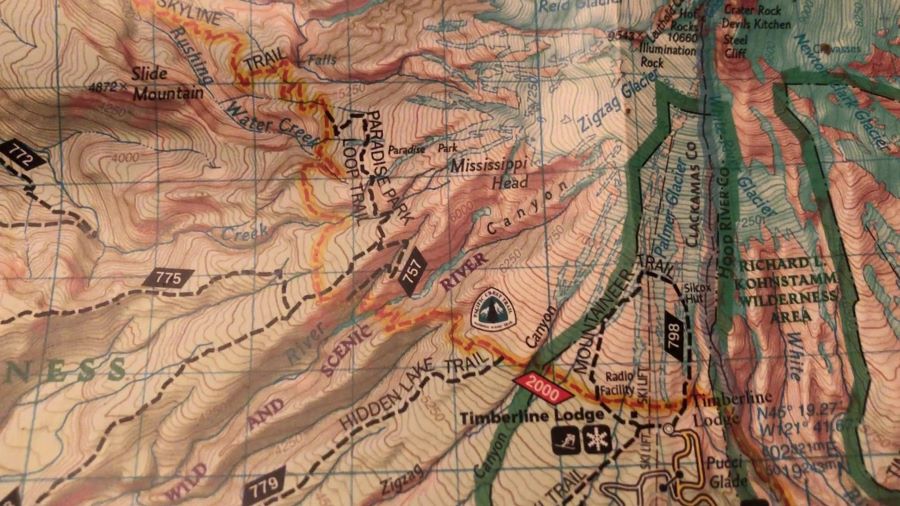
We recommend getting this paper topographic hiking map before your adventure. Even if you have a digital map, it’s a good idea to have waterproof paper map.
Planning your Hike on the Timberline Loop Trail
Planning to hike around Mt. Hood is manageable and fun! Let’s come up with a route based on your goals.
Steps to plan your hike on the Timberline Loop Trail
- Choose a starting (and ending) point.
- Select a direction of travel.
- Choose your campsites.
- Be aware of water sources.
- Be aware of river crossings.
Step 1: Choose a Starting Point
As it is a loop, you will need to select your starting point which is also the ending point. There are lots of trailheads that you can start from. However, some are better than others due to varying accessibility and security.
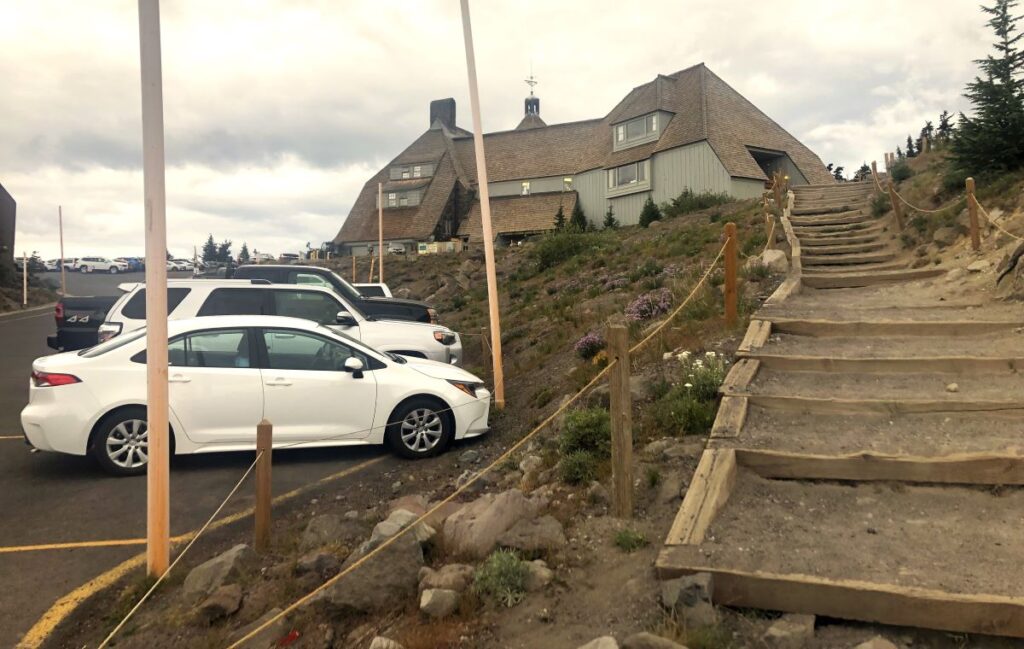
We recommend starting and ending at Timberline Lodge because it is free and safe. With people coming and going from the lodge frequently, this is the most secure spot to leave your vehicle for a few days.
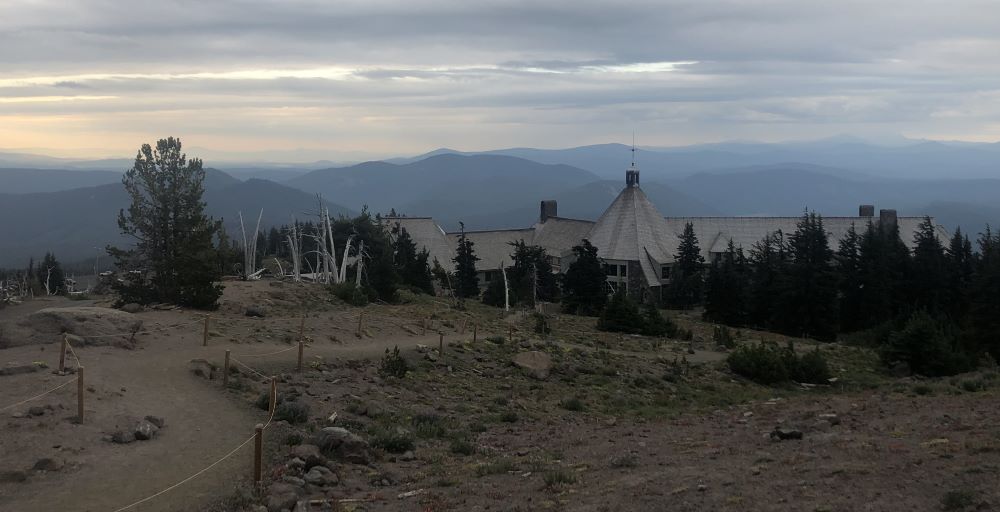
In addition, you can stay overnight in your vehicle at Timberline Lodge which is helpful in some scenarios. For example, we slept in the car the night before our hike so we could get an early start.
Furthermore, starting and ending at Timberline Lodge is convenient for planning campsites, regardless of how many nights you spend in the backcountry.
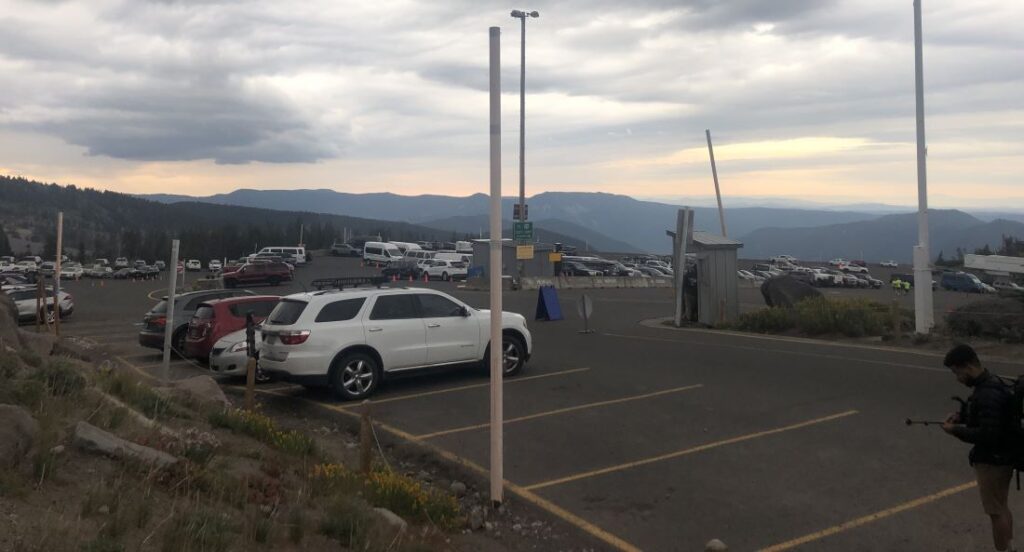
Plus, the restrooms are convenient, and there is a nice restaurant if you want to treat yourself after the hike.
Other starting points besides Timberline Lodge include Cloud Cap, Ramona Falls Trailhead, and the Mt. Hood Meadows parking lot.
Step 2: Select a Direction of Travel
As you may have considered, you can do the Timberline Loop Trail both clockwise and counterclockwise. Both options are fun and unique. If you can, do them both!
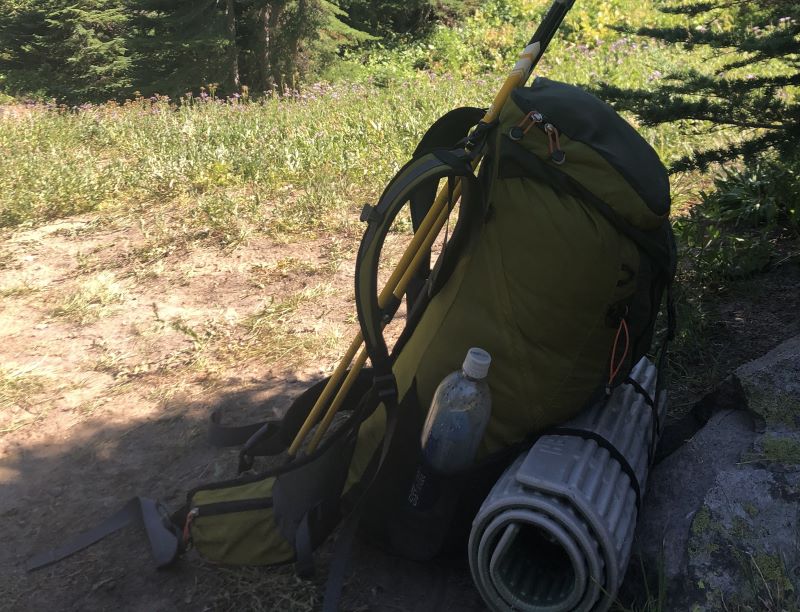
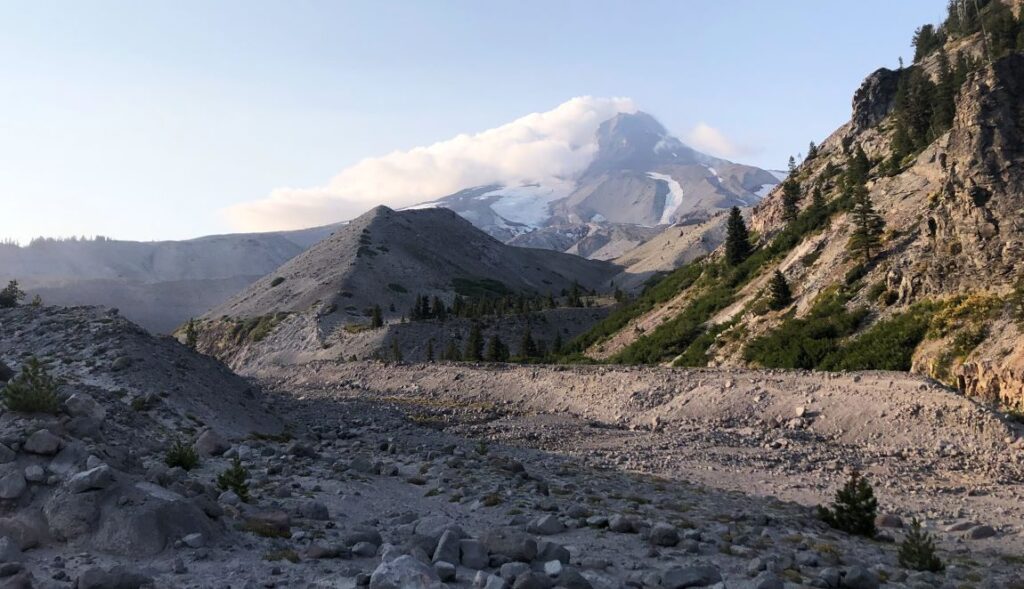
There are tough ascents and descents both ways and beautiful views all the way around. In fact, we can’t decide which way we prefer. We think both ways area awesome!
However you decide, the direction of travel may influence which campsites you want to utilize.
Step 3: Choose Your Campsites
Regardless of how many nights you spend on the Timberline Loop Trail, you’ll need to map out where to pitch your tent.
Fortunately, campsites and fresh water are abundant for most of the loop. In fact, you are probably within a few miles of a campsite with water throughout the entire trail.
Use the map above to see the location of the campsites throughout the loop trail. There are several main areas for camping, which are described in the table below.
The table below shows the main camping areas along the Timberline Loop Trail.
| Campsite Area | Location | Description |
| Paradise Park | West side | Just at the edge of the tree line. One of the prettier sections of the trail. Lots of good views. About 7 miles from Timberline Lodge. |
| Sandy River | West side | Lots of campsites on both the north and south side of the river. Close to Ramona Falls. 10 miles from Timberline Lodge. |
| Elk Cove Camp | North side | A pleasant valley with nice views. Variety of sites that are mostly spread out. Spots do fill up on nice weekends. Better to get there early. About 10 miles from the Sandy River crossing. |
| Cloud Cap | North-east side | Trailhead and camping area. Care-accessible. Water faucet and a lot of flat campsites. Doesn’t feel as natural as the others. |
| Newton Creek | South-east side | A number of sites around Newton Creek, which is about 8 miles from Timberline Lodge. |
Keep in mind: There are other campsites not listed in the table. That said, the camping areas above are the most reliable, meaning you have the best chance of finding an open site.
Step 4: Be Aware of Water Sources
Water is abundant on the Timberline Loop Trail. We have tried our best to list water sources in the map above. Do note that availability of water changes from year to year and based on the time of year.
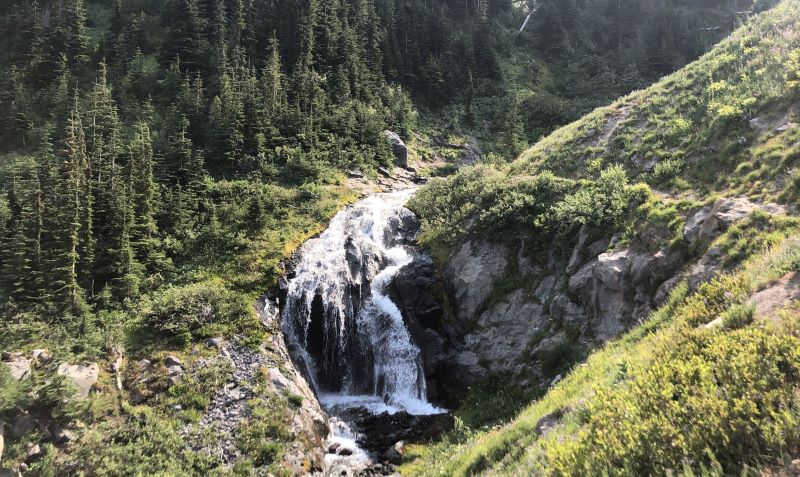
In general, the south, west, and north side of the mountain are quite wet and have frequent streams. The east side can be a bit drier, especially up near the highest point of the trail.
Usually, we carry no more than 1 liter of water around most of the trail. However, on the east side between Newton Creek and Cloud Cap we carry 2 liters.
Step 5: Be Aware of River Crossings
Many people can be spooked by river crossings, which can indeed be intense based on the year and time of year.
There are several main river crossings, which are listed below sequentially according to a clockwise approach:
- Sandy River
- Eliot River
- Newton Creek
- White River
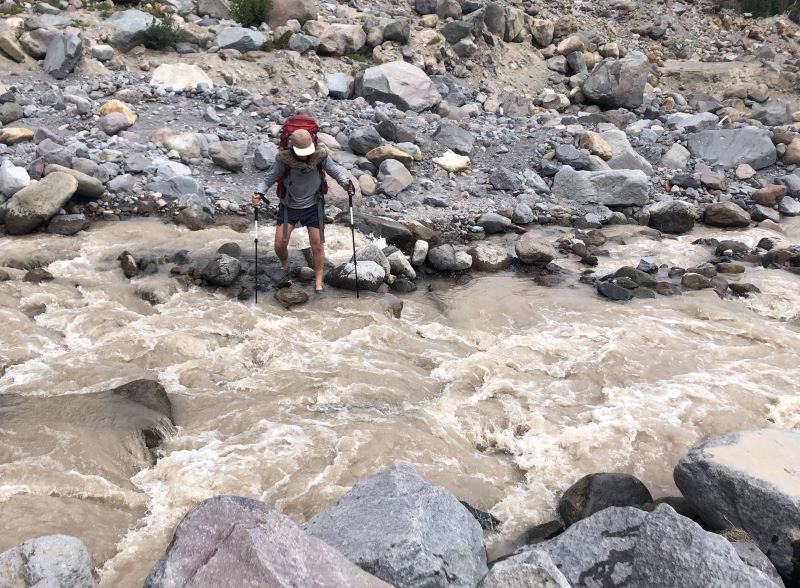
Overall, we have not had any major issues with these crossings. That is, we have always been able to cross uninjured and without doing anything too sketchy.
As always, be safe when crossing streams. Here are some general tips for managing stream crossings:
- Hike with a partner. Do not attempt a significant crossing on your own.
- Research the proper methods to cross a stream and know when to bail.
- Use a trash bag to keep your things dry in the event that you fall during the crossing.
- Never cross with your waist belt clipped. Always be able to ditch your pack if you fall.
- Stream crossings are easier during the morning when there is less snow melt.
As a final note, Eliot River is typically the most intimidating crossing, but mostly because of the intimidating and unstable embankments. Take your time and follow the lead of others who have established a trail. The best route changes every year.
Timberline Loop Trail Itineraries
In this section, we propose three itineraries for the Timberline Loop Trail including 2-day, 3-day, and 4-day variations.
2-Day, 1-Night Itinerary
Yes, people can do 40 miles in just one night! We have done it before, and while it is a grind, completing a one-nighter is rewarding. Plus, you can do the entire trail in a normal weekend. Weekend warriors rejoice!
If you are ambitious enough to attempt a one-nighter, we recommend you sleep in the parking lot at Timberline Lodge or camp nearby, so you can get an early start.
For your one night in the backcountry, camp halfway at Elk Cove, on the north side of the mountain. Clockwise and counterclockwise are both great options.
3-Day, 2-Night Itinerary
For a more manageable but still arduous itinerary, shoot for two nights and three days.
Starting from Timberline Lodge, head clockwise 10 miles to the Sandy River crossing. Day two brings you about 16 miles to Cloudcap. Day three rounds out the hike with about 14 miles back to the lodge.
Of course, you can do the reverse to make it a counterclockwise trip, which is also a great option. There are many other variations of a two-night itinerary as well.
4-Day, 3-Night Itinerary
Perhaps the most popular option is 4 days, which equates to about 10 miles a day. This is the most manageable option, and a great way to take in the entire trail at relatively slow pace.
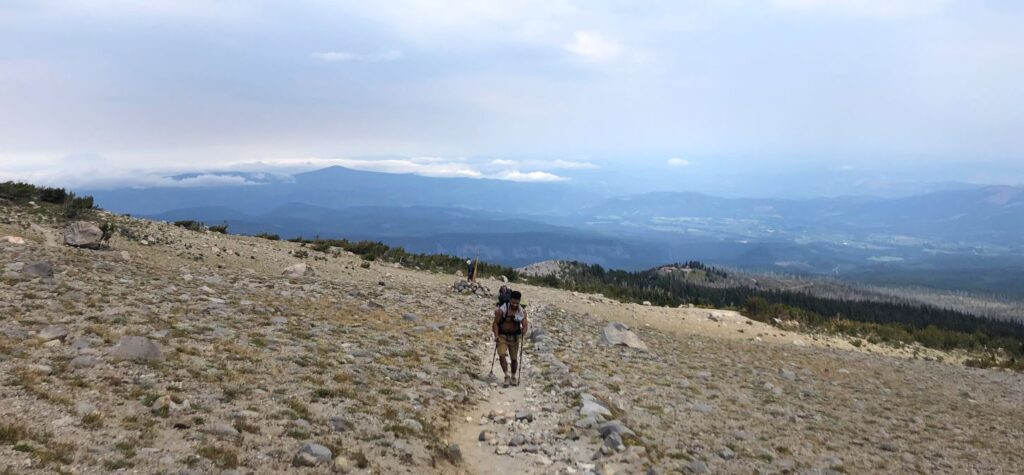
Three camping areas are conveniently set up about 10 miles about: Sandy River crossing, Elk Cove, and Newton Creek. As you guessed, you can go clockwise or counterclockwise!
Plan your own Timberline Loop Trail Itinerary
Due to the lack of permitting system, this trail is super flexible. Whatever your pace or starting point, you can make your own itinerary.
Our Tips for Enjoying the Timberline Loop Trail
Having completed the trail 7 times between us both, we have made some mistakes. Hopefully we can help you avoid the same errors and make the most of your time on the trail.
Get Reliable and Lightweight Backpacking Gear
We’ve been slowly upgrading our gear as we can afford it. Even though gear can be expensive, lightweight gear makes hiking so much better.
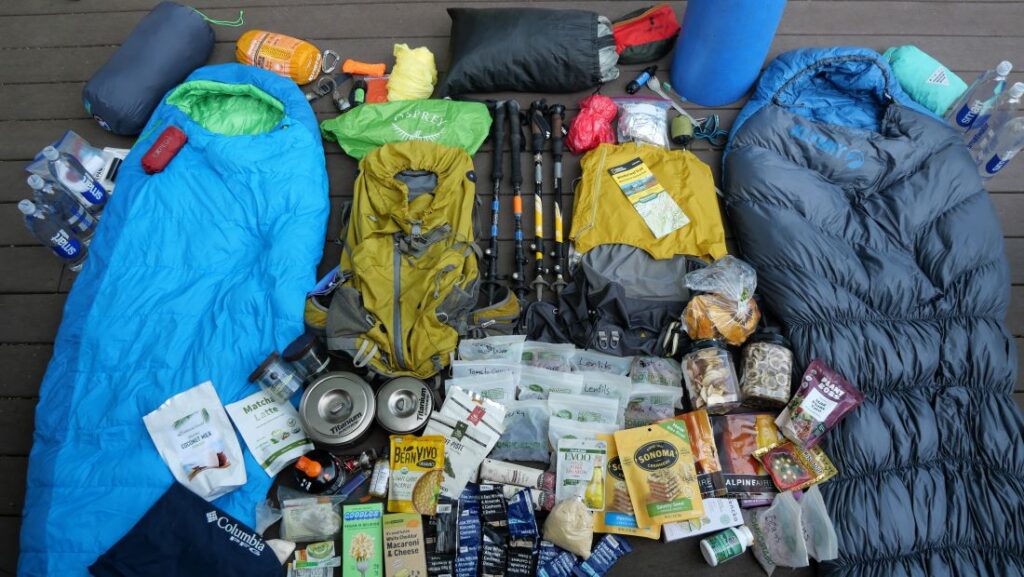
We recently got some new gear for our trip on the Wonderland Trail around Mt. Rainier. It made a world of a difference. Check out the full list of hiking gear we use.
Get a Paper Timberline Trail Map
Even if you have a digital map (we download trail maps on our phone using Avenza Maps), it’s always smart to have a paper trail map. We love this one from National Geographic.
Follow Cairns at River Crossings
For the significant river crossings, you’ll need to cross large stream beds that have been scoured out and eroded over many years of snowmelt. In fact, the trail through these sections changes year as the rocks shift.
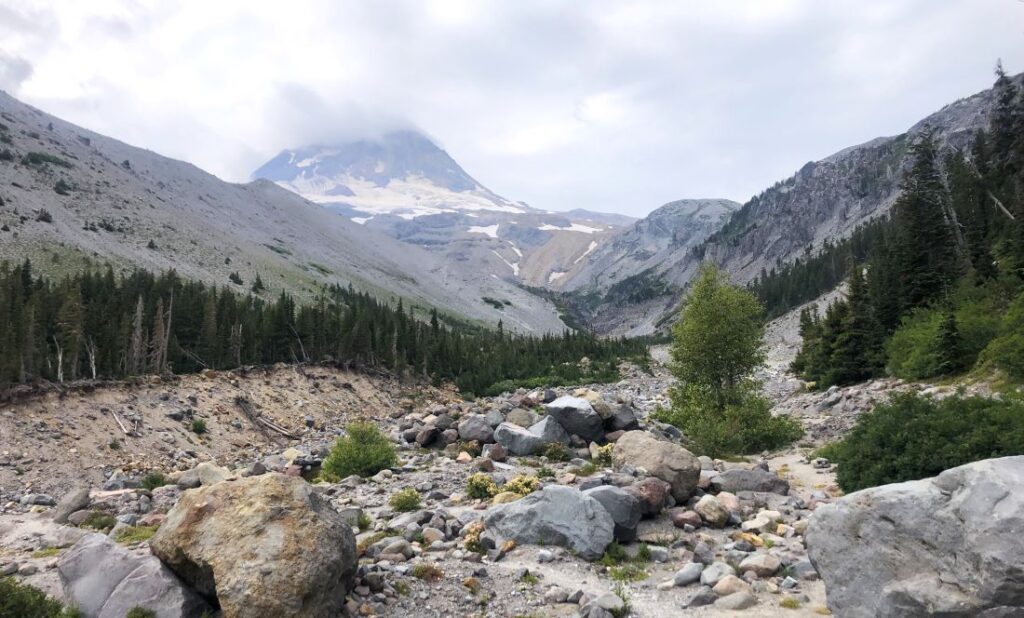
Pay attention to cairns (which are those stacks of rocks) that mark the trail. When you come to a river crossing, look across the river to see if you can see a cairn and the trail.
Camp at Timberline Lodge or Nearby if you Need
You can camp in your car at the Timberline Lodge parking lot for free. Plus, there are bathrooms there. This can be convenient.
For example, we travel two hours from Central Oregon and camp the night before our hike. That way, we can drive to Mt. Hood after work and hit the trail early the next morning.

If you can’t sleep in your car, there are campgrounds nearby where you can reserve a site. Also, there are free campsites near McNeil Campground and surely in other areas.
Grab a Bite to Eat and a Beer in Government Camp Afterwards
We’ve made this our tradition each year we do this hike. There are several good restaurants/pubs including Charlie’s Mountain View, The Glacier House, Ratskeller, and The Huckleberry Restaurant.
Expect Crowds on Summer Weekend
The close proximity to Portland and lack of permit systems equals lots of people who hike the Timberline Loop Trail! As a result, the trail can feel crowded at times, and campsites can fill up.
We’ve had it happen before where we get to a group of campsites later than others and have to wander around looking for a sub optimal site. To plan ahead, it is best to try to get where you’re going early.
That said, we have always found a site eventually and have even shared with others who are in need. Just be respectful to others!
Conclusion
Hopefully this article was helpful in planning your trip around the Timberline Loop Trail.
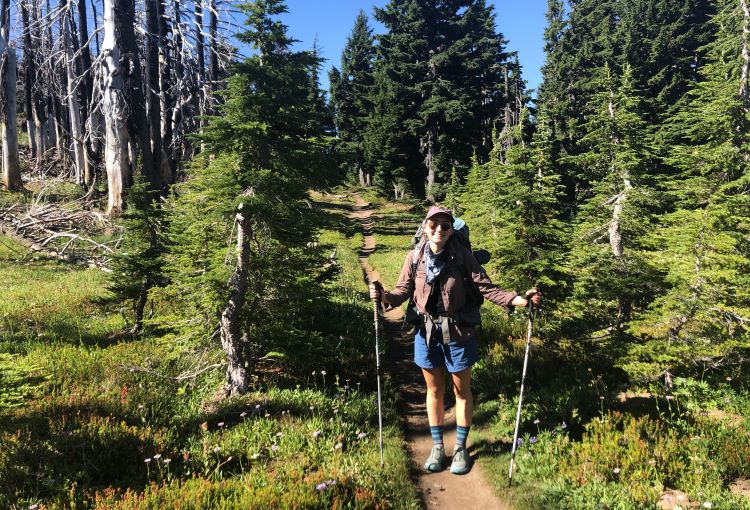
This is one of our favorite trails and a place that is dear to our hearts. As always, practice “leave no trace” principles.
It is critical that we preserve this heavily trafficked area for future visitors. Let’s do our part to keep it in good shape so that we don’t need a permit system in the future.
You may be interested in our other articles about Mt. Hood and the Columbia River Gorge. We also have articles to help you explore Central Oregon and the Oregon Coast.
Also, subscribe to our YouTube and follow us on Instagram for more inspiration for exploring the PNW. Happy roaming!

